Saturday, August 16, 2008

700N build issues

First off, some build issues that I faced with the 700N...

1. The rubber grommet hole on my canopy was drilled unequal and too rearward of both sides.
This resulted in having one side of the canopy bulging in the middle and touching the main gear when mounted on.
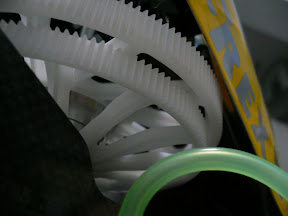


Instead of redrilling, I added spacer to the canopy mounting post. This solves the problem. Notice the different spacer thickness because of misaligned mounting holes.
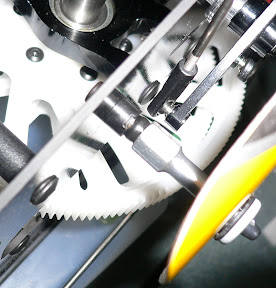


2. Page 22 Linkage rod D
The length in the instruction manual was a little too short for the swash to be level. I had to increase mine by about 3mm. Some say they had to increase theirs by up to 5mm, so YMMV.


3. Ball Links do not go onto the rod straight.
A handful (a big handful) of my push rods do no go into ball links straight. The problem I am facing is that I can start out really straight but once it get tight, it just goes crocked.
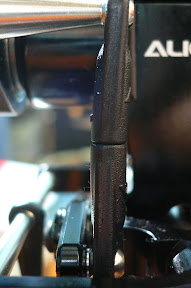
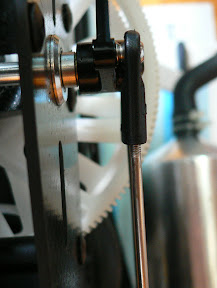

4. Tail fin being slanted when tail case is fully tightened.
I had already read about this on the Align forum in Chance's build thread. I have the same issue too. Spacers will help to solve the problem, but I am just lazy to take it out now.
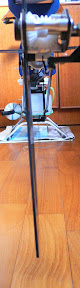
I suppose this is because of the tail case clamp closing up when tightened down.
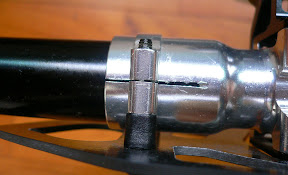

5. Fuel Line hole on the main frame.
I am using a YS 91SR and when mounted on, the regulator will touch the fuel line IF I use the upper hole on the main frame. Using the lower one seems to solve it.
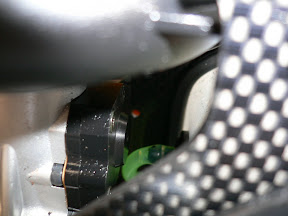

6. I am not usually that picky, but since this is my new heli, I hope it looks and stays clean for a while. Unforunately the white gears are already getting really dirty just after 4flights.


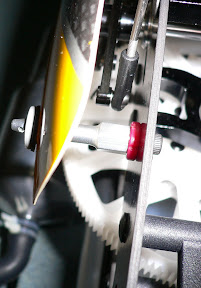
7. CF Rod reinforcement for the Rudder control rod
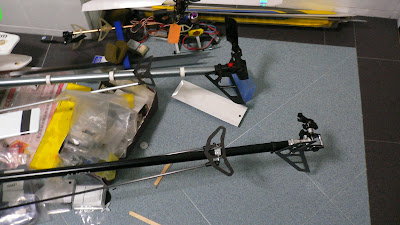
Either the metal rod is too big or the cf sleeve is too tiny. There was no such problem in the pre-production or the first batch kit, but on the second batch, the metal rod took a lot of effort to screw in, whereas on the older kits, it just slip in in a matter of seconds. Took me 15mins or more to get mine in. Its the CF rod at the bottom of the photo. I tried running without the CF sleeve but there seems to be too much flexing and vibration on the metal rod even at idle, definately a place where metal fatigue will take effect. This CF sleeve is a must.
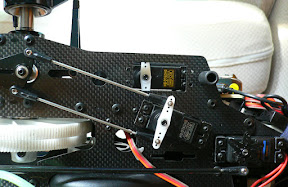

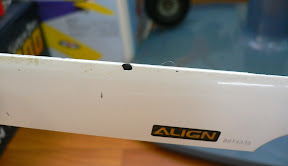
On a more positive note, my kit came with a very thin shim for the main shaft and that one fits PERFECT on the main shaft. All problem that I have, except for the ball links/linkage rods issues, were pretty minor and easily resolved. Align seems to have also improve the quality of their tail blades. The one that my friends had on their 600N were hollow, the 700N ones appears to be solid and filled-I know because my tail blade got ding..
Friday, August 15, 2008

Mounting a governor sensor on the 700N

The T-rex 700N uses a pair of clutch bell mounted magnets for the governor sensor instead of the usual fan mounted magnets. It will be fine if you are running the Align governor included in the box, but if like me, you opted for another governor, you will need a bit of mod to fit the governor sensor in. This mod will work for governors like Throttle Jockey Series, ATG, GV-1 and a whole bunch of others.

All you need is

1x 30/50size sensor mount(do take note that some 50sizers are actually using the 90size sensor mount, we need a real 30/50 one.)
1x Small saw
1x sensor
Some shrink wraps and cable tie.
Some C.A, i.e superglue

1. Prepare/Cut the bracket to size.


Cut the 30/50 governor sensor mount as shown above. The black one on top is a un-cut standard 30/50 mount. The one below is what you should end up with after cutting. It should be around the region of 26mm, give or take an mm or two. It is suppose to be a little shorter than the one on the G-600 because on the Align governor, the sensor goes THROUGH the mount, whereas on our generic mounts, the sensor goes ON the mount which increases the length of the final assembly.

It doesn't have to be a exact, on the dot kind of cut because there is a little bit of room for adjustment when the sensor is mounted on the main frame.

2. Attaching the sensor to the bracket.


Bend the sensor gently to form a 90 degrees arc. I am not very sure if all sensors are directional, but on mine, only the side with the wordings work for my magnet. So check yours before bending as you will want the side of the sensor that works to face the magnet.

Attach the sensor to the bracket and shrink wrap the sensor to the bracket as shown in the photo above.

C.A. the sensor tip to the bracket as in the photo. Thick C.A. tends to work better here. The key here is to apply in thin layers. Its going to take a while to dry and solidify, but don't blow at it coz you only end up making the the C.A. run.

Cable tie the wire at the shrink wrapped area. Cable tie on none-shrink wrap area might cut through the wires. I had forgot about the cable ties on mine, but it seems to be working well so far.

3. Mounting the bracket onto the main frame.[download id="null"]


I highly/strongly/definately recommend that the sensor assembly be mounted before putting the frame halfs together. Spacer was required on mine to space the sensor away from the main frame to that it is hanging directly above the magnet on the clutch bell. The photo is a bit dark and blur, but for those who are wondering, the spacer goes between the bracket and the included governor mount(pg10 of manual). You will need to source for self tapping screws to mount the sensor assembly. Adjust the height of the sensor by "dry fitting" the clutch bell assembly on the frame.

Monday, August 11, 2008

My Dream, my Pride, my Joy

After waiting and waiting and waiting and yet more days of waiting...the T-rex 700N hit my local shore. It was one week later than I expected. Oh well...at least its here. It was the first to leave the LHS door(which makes me the FIRST owner of 700N on my little island) and probably the first 700N to attempt flight...all thanks to my 8-10hours of building time daily.

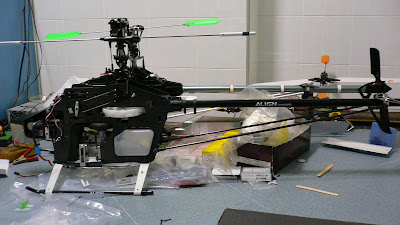
Got it on 4th of Aug. Spent a few days and almost 2kg of my body mass(YES I LOST 2KG FIXING THIS) to build this thing. Though the 700N is pretty simple and has relatively few parts, I feel that its still a much more complicated build compared to my raptor. In the same time that I build this 700N, I probably could have took my raptor apart, assemble it, take it apart, assemble it again and still be left with enough time to watch a whole series of japanese drama. My build start on a monday, by thursday it was down to mounting the electronics and setting up the electronics.

I ripped out the TJ pro from my raptor(which means it now has the ATG) because I couldn't find a suitable place to mount the ATG on the 700, reason being setting the ATG requires access to the buttons on one end and the g-view slot at the other. I am using the ATG sensor on the 700N though.

The rest of the setup is pretty much as what I planned.

YS91SR + MP5
TJ pro + Hitec 325HB(too lazy to rip out the 9254 from the raptor)
Solid-g + BLS251
Ino Lab-760mg on ccpm
Radix 710SB
stock paddles and tail blades
Dualsky vr-8l regulator and Evo-rx 2100mah

Will be doing a build post and tips and tricks for the 700N soon when I have the time. For now I need to catch up on the 1week worth of lecture notes and tutorial that I have neglected. I have recently be accepted as a paid contributing editor on rcheliresource.com , so most, if not all self produced articles and contents that I post there will probably end up here too. Just to clarify, while the title "paid contributing editor" sounds cool, my pay per week is only just enough to pay for 1 flight worth of nitro for my 700N...LOL...of course you guys can help me by clicking and viewing my full articles there and clicking the google ads at the side, but erm...that is not quite legal..haha...anyway thats beside the point...

Enough talk...time for some pictures.
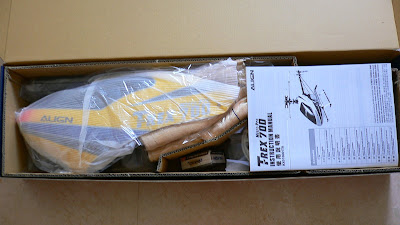
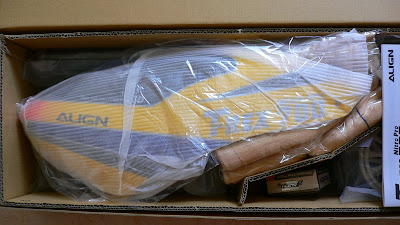
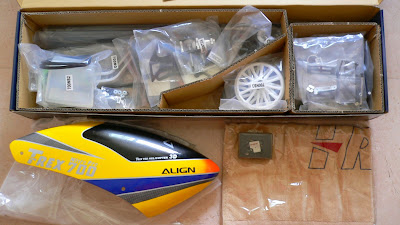
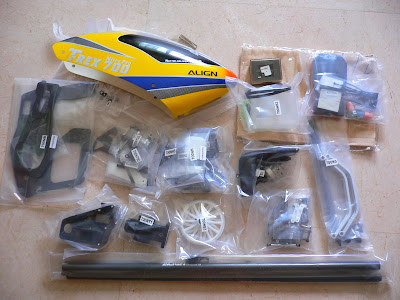
Whats in the BOX??


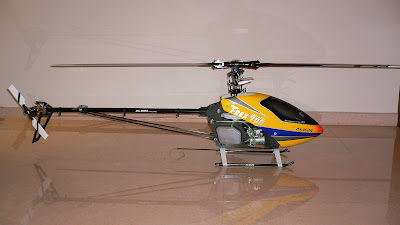
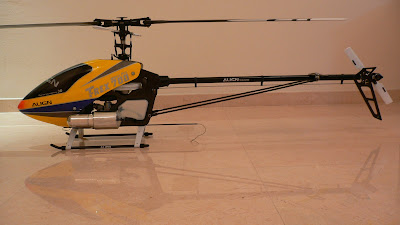
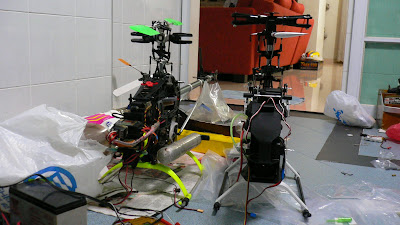
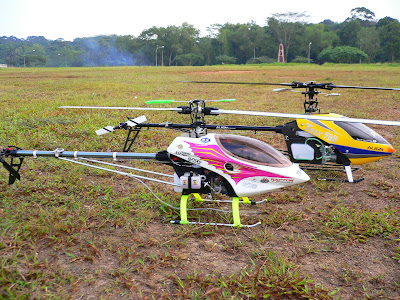
The completed heli


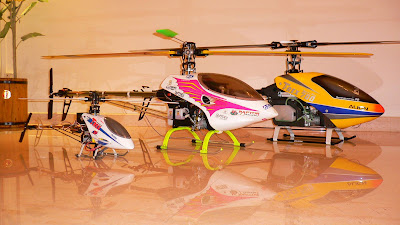
Some size comparison between the raptor and 700N


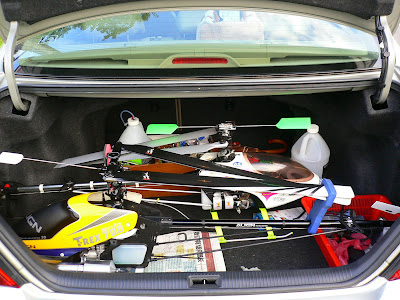
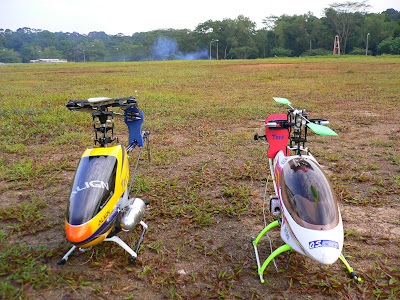
In the car boot and at the field on a quiet and cool sunday morning.


First maiden(8/8/08)...the very day olympic started...

Got the solid g on reverse but left the G-view at home. Dinged the tail blades when the heli started spinning on the ground.(More on the tail blades in another day, its positive though). So I had to pack up everything. Engine was struggling with idle a little bit, but overall my starter was able to crank it.

Went back to the field with G-view, got everything set BUT MY STARTER CAN'T CRANK THE ENGINE. Used my hand to turn and it wasn't lock, so I thought it was my starter. Tried the starter with a BIG CAR BATT WITH THE CAR RUNNING and the engine wouldn't even budge. When I say a big car battery, I do mean a real car battery and not those puny car batts found on today's japanese sedans. Pack up and headed home-dissappointed. Sent a pm to my flying buddy that day to borrow his starter :P

Initially I had trouble with treading the metal rod of the tail rudder linkage into the carbon rod, so I left it all off all together, but then it there was too much vibration on the rod that I had to spent a good 15mins to tread the rod in when I got back home.


Successful Maiden- The real maiden flight(9/8/08) - National Day

Had trouble cranking the engine even with my friend's bigger starter. At the suggestion of another flying buddy who was just dropping by the field, I took the plug out and give it a few crank. Sure enough, lots of fuel came out. After that, the bigger starter had not problem cranking it. My starter was turning it over, but still it looked like it was struggling bad.

Maiden was uneventful. The whole time I was worried of screw coming loose due to insufficent locktite, but all have been well so far.

I thought my headspeed was quite ok and my governor was engaging and that 90size in a low speed break in is suppose to look like that. After my friend told me mine looked really slow, I gave it a look over when I went home after 2.5 flights. The next day out with my tach, I realised that I was only running 1250-1300 and thus my governor was not engaging. That explains why it didn't felt as good as I expected. I know what many will say, but I always run in my engine with my governor on. The only flight which I will leave my governor off is the very first flight of a new engine/piston/ring. Rpm has been increased to around 1550 now. Btw, it is possible to even do circuits at 1300rpm on a 90size. Simply amazing.

Its probably too early to comment on the flight performance, but this thing climbs quite a bit faster than my raptor. Might change out the paddles and tail blades when I see the need to.

Special thanks to those who helped me at the field on maiden day.